- Products
-
Design Templates
- Featured Design Galleries
- More Galleries
- Services & Resources
- Free Sample Kit
- Deals

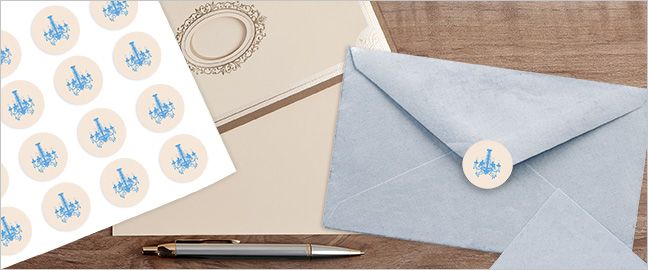
If you want to distinguish your communications from the pack, whether to lend greater brand prominence or add a personal touch to wedding invitations and more, printing custom envelope seals is a great way to do it. The following details everything you need to know to design and print your own custom envelope seals. Brainstorm your theme The first step to crafting truly unique envelope seals is to brainstorm your theme. Do you want to promote your brand image? Do you want to showcase bride and groom personalities? Do you want add some spice to your holiday cards? Whatever the goal of your envelope seals, the theme you develop now will inform all other decisions, including image, graphic, and color choices, typography, and text. Next, it's a good idea to sketch out some design options. They don't have to be perfect by any means – just basic sketches that help visually portray outlines of your design options. Now is also a good time to select your color palette for branding or personal appeal. Once you settle on a sketch you like and choose a color palette, it's time to formally design your envelope seals. Design your envelope seals Now the fun part – getting design your own custom envelop seals. Before you start, download a free envelope seal layout template from PsPrint. These templates have no graphic elements, so you're still in total control of your design, but they do contain helpful guidelines such as bleed lines, cut lines and a safe area so you can properly position your artwork. Moreover, envelope seal layout templates are pre-formatted in the proper size, resolution and color mode. Choose between square and round envelope seals in various sizes. Of course, you want your envelope seals to be as bold and attractive as possible, so consider the following tips:
When your design is complete, simply delete the guide layer and you're ready to print! Print your envelope seals Printing is the easy part – simply upload your print-ready artwork and your printing company will take care of the rest. Before you do, however, you have to make some important decisions about your envelope seals, including paper stock. Premium semi-gloss kiss-cut sticker paper offers an elegant touch, and you can make your envelope seals shine bright with an optional high-gloss UV coating. Another consideration to make is volume; while you can print as few as 25 sheets – perfect for one-time events such as weddings, reunions and anniversaries. If you'll be using your envelope seals for year-round branding you can save money by printing in greater volumes, since your price per sheet will reduce the more you print. You'll also need to choose production and shipping times; normal production times are offered at discounts, but you can get your envelope seals faster for a fee. Once you've made your selections and uploaded your artwork, be sure to properly proof your envelope seals before approving the print run. You can get a free digital proof to check for layout mistakes, typos and other errors. It's a good idea to have someone else double-check everything for accuracy. Finally, you can approve your print job, sit back, and relax: in a few days, your envelope seals will be delivered to your doorstep. For more information about designing and printing envelope seals, check the PsPrint Blog for design and printing tips, tricks and inspiration.